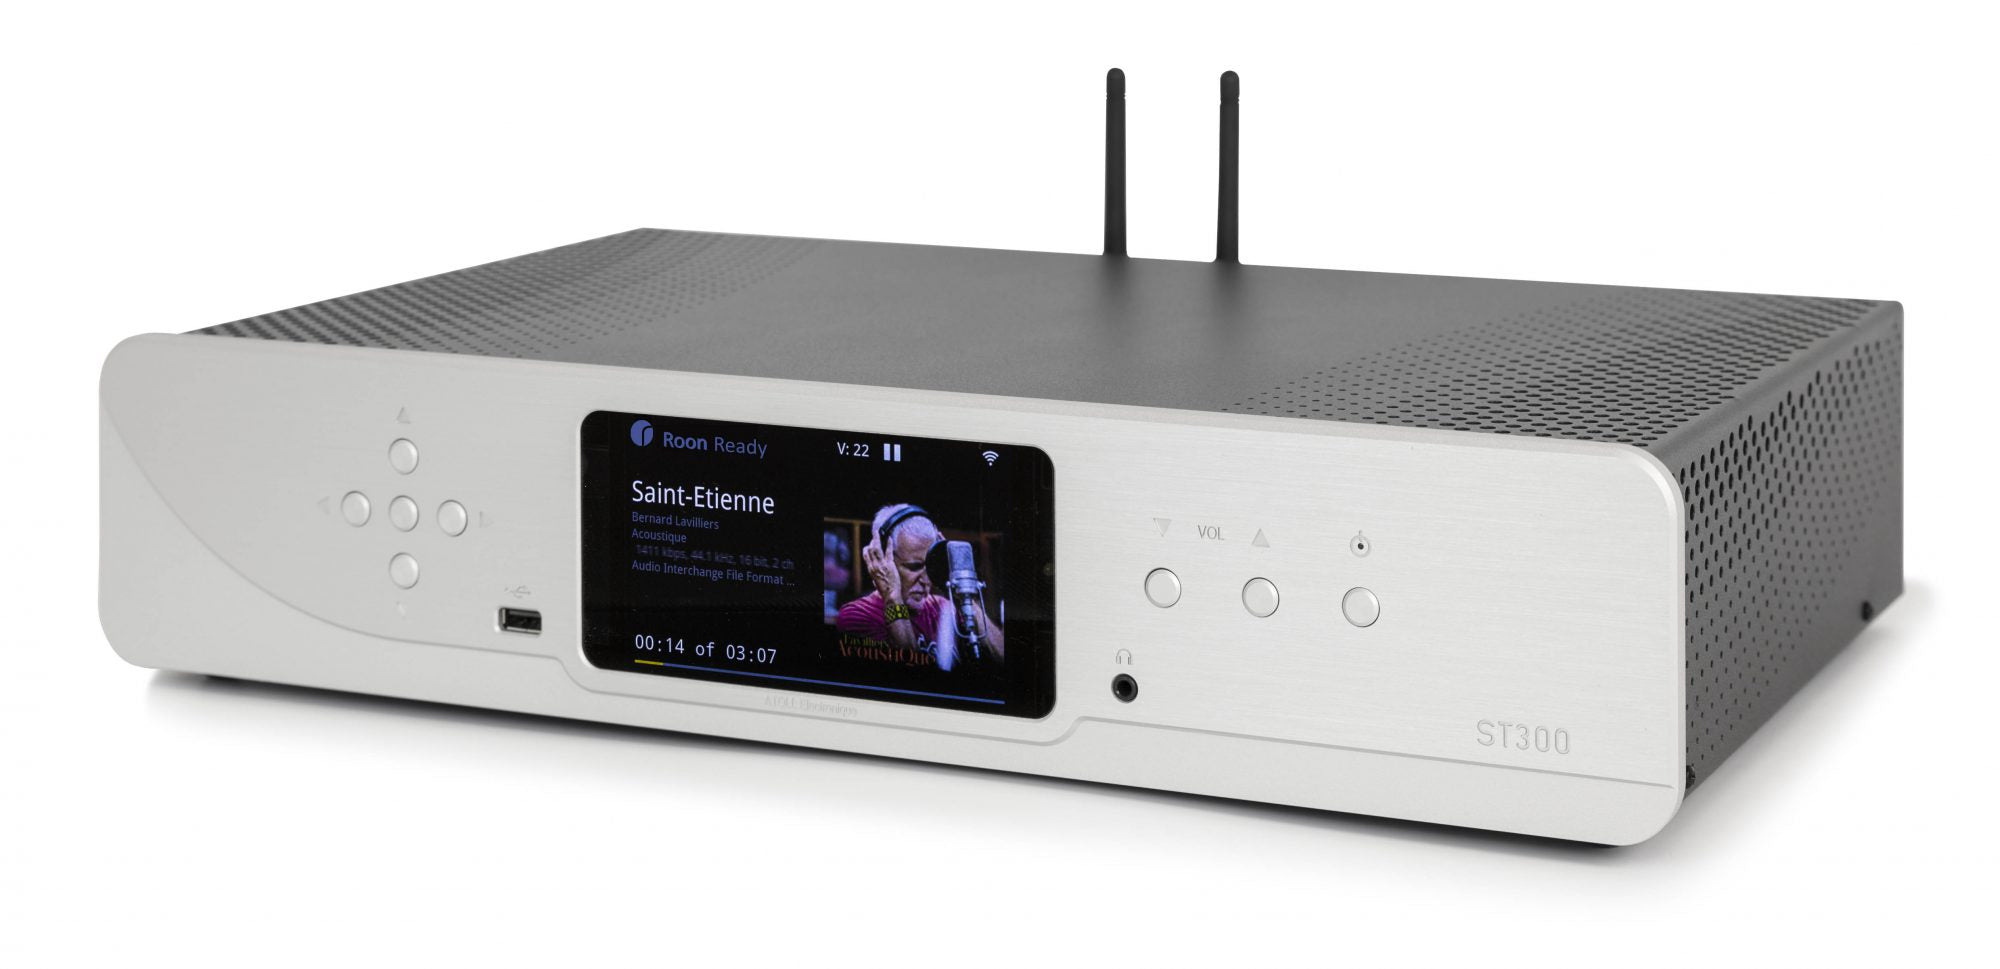
If you're getting into the world of music streamers, you likely have a lot of questions about how to choose the right one, how to connect it, and how to get the most out of your setup. This FAQ will guide you through everything you need to know about music streamers—from the types available to the apps you'll use to control them. Let’s dive in!
1. Types of Music Streamers: What's the Difference?
Music streamers are devices that let you stream music from the internet or your home network to your sound system. They come in two main varieties:
-
Streamers without a DAC (Digital-to-Analog Converter): These devices output only a digital signal, so you'll need an external DAC to convert it into an analog signal that your amplifier and speakers can play.
-
Combination DAC/Streamer: These streamers have a built-in DAC, allowing them to output both digital and analog signals. This means you can connect the device directly to your amplifier without needing a separate DAC.
2. How to Connect a Streamer Without a DAC

If you have a streamer without a built-in DAC, you’ll need to connect it to an external DAC, which will convert the digital signal into analog. Here’s how to do it:
- Digital Connection: Use an optical, coaxial, or USB cable to connect the streamer’s digital output to your DAC.
- Analog Output: Once the DAC converts the signal, connect its analog output to your amplifier using RCA or XLR cables.
3. Connecting a Combination DAC/Streamer
When using a combination DAC/streamer, you have two connection options:
- Analog Connection: Use RCA or XLR cables to connect the streamer’s analog outputs directly to your amplifier.
- Digital Connection: Some streamers let you bypass the built-in DAC and use an external one instead. This option can offer better sound quality, especially if you're using a high-end external DAC.
Why bypass the internal DAC? Audiophiles sometimes prefer using an external DAC to achieve superior sound quality.
4. Network Connectivity: Ethernet vs. Wi-Fi
Your music streamer needs to connect to your home network, and there are two ways to do this:
- Ethernet: A wired connection to your router offers the most stable and reliable performance, especially for high-resolution audio.
- Wi-Fi: Wireless connections are more convenient, and with a properly set-up network, they can be just as reliable as Ethernet.
Which is better? Ethernet is generally more stable, but if your Wi-Fi network is strong and well-configured, it should work fine. If you experience stuttering or dropouts, the issue might be with your home network setup or limited bandwidth from too many connected devices.
5. Music Services Supported by Streamers
Most music streamers support a variety of popular music services, including:

- Qobuz and Tidal: These platforms offer high-resolution audio streaming. Qobuz provides lossless audio, while Tidal supports MQA (Master Quality Authenticated) tracks for premium sound quality.
- Spotify: Known for its vast music library, though the audio quality is typically lower than high-resolution services.
- Internet Radio: Many streamers offer access to thousands of global radio stations.
Do streamers support Apple Music and Amazon Music? Some streamers do, but these services are less commonly integrated. Check your device’s specs to see if they are supported.
6. Control Apps: Why They Matter
A control app is software that lets you manage your music streamer from a smartphone, tablet, or computer. It’s the main interface for accessing streaming services, controlling playback, and adjusting settings. A good control app makes streaming music easy and enjoyable, without the hassle of dealing with complex technology.
A user-friendly app should:
- Feel intuitive: Navigation should be simple and effortless.
- Be responsive: Quick load times and smooth operation are key.
- Keep the focus on the music: The app should make it easy to enjoy your music without adding unnecessary complications.
Through the app, you can access streaming services, control playback, manage your local music library, and sync playback across multiple rooms if your system supports it.
7. Third-Party Control Apps

Third-party apps offer advanced features and the ability to control multiple devices from different brands. Popular third-party apps include:
- Roon: A subscription-based app known for its rich metadata and advanced library organization. Roon also supports multi-room audio and integrates seamlessly with high-end audio systems.
- mConnect: A straightforward app that lets you control multiple devices and stream high-resolution audio effortlessly.
8. Other Ways to Control Your Streamer
In addition to dedicated control apps, there are other ways to manage your streamer:
- Spotify Connect, Tidal Connect, and soon Qobuz Connect: These allow you to stream music directly from their respective apps to compatible streamers.
- AirPlay or Chromecast: You can use Apple AirPlay or Google Chromecast to stream from apps like Apple Music or Amazon Music. However, for the best experience—especially with high-resolution audio—it’s best to use a dedicated control app.
9. Finding Compatible Apps for Your Streamer
To find out which apps your music streamer supports, check the product manual or visit the manufacturer’s website. Make sure to keep your streamer’s firmware up to date for the best performance and compatibility with new services.
Why is firmware important? Your streamer’s embedded software determines which apps and services it can connect to. Firmware updates often add support for new services or improve existing features, ensuring you’re always getting the best experience.
In summary, understanding the types of music streamers, how to connect them, and which control apps to use will help you get the most out of your listening setup. Whether you're a casual listener or a dedicated audiophile, the right configuration can elevate your music experience

Share: