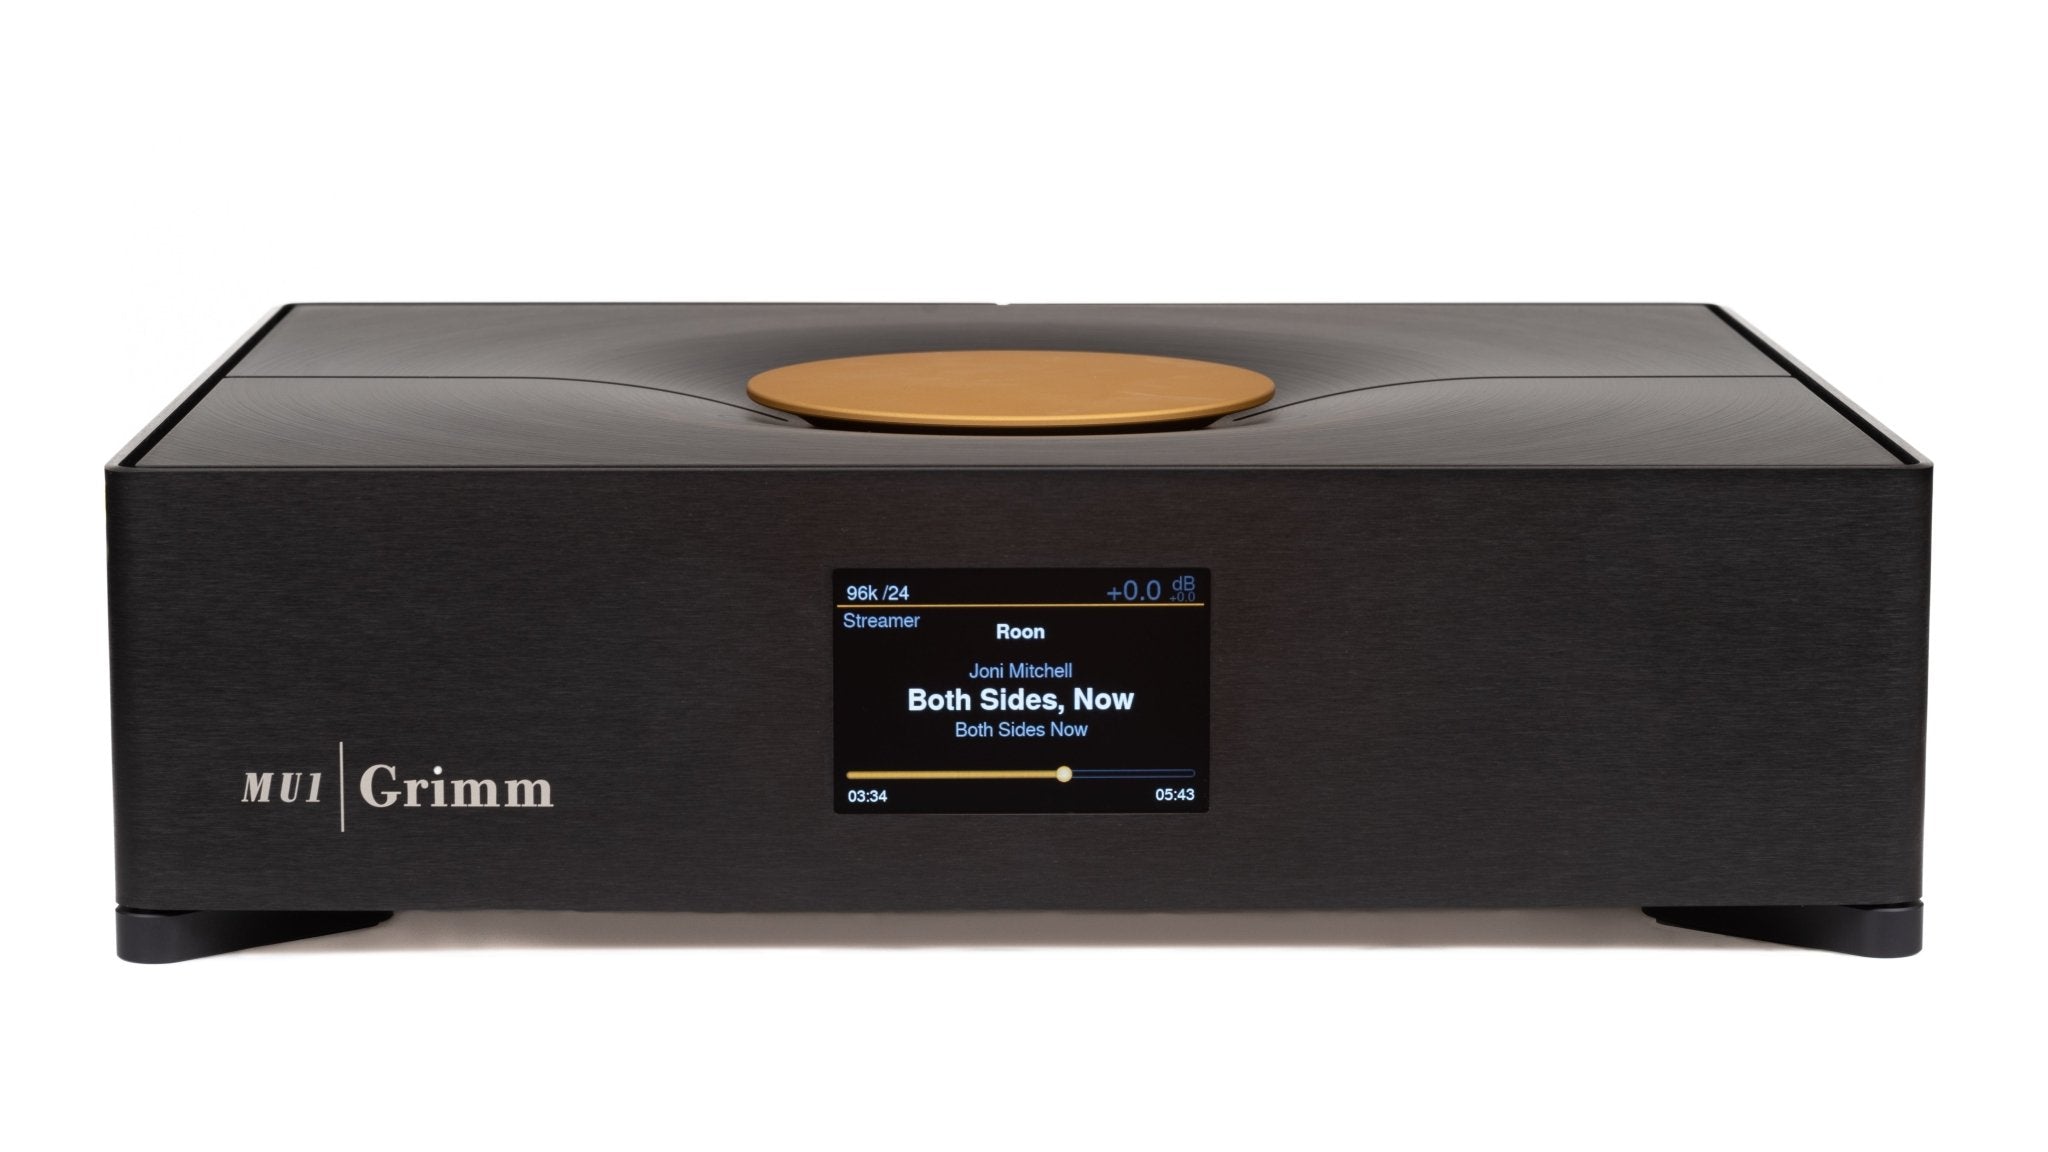
This guide walks you through the essential steps to set up your Grimm Audio MU1 Music Streamer, connect it to your network, and configure it as a Roon Core for optimal sound performance.
How to Set Up the MU1 for the First Time
Unboxing and Placement
- Place the MU1 in a stable location near your router and DAC (Digital-to-Analog Converter). Ensure that it is positioned for easy access to both power and network cables.
Connect the MU1 to Your Network
- If you're using the main router, simply connect an Ethernet cable from the router to the MU1’s Ethernet port.
- If you're using a secondary router or network extender, ensure that it is configured in switch mode or bridge mode, disabling all routing features like DHCP and NAT. This prevents network conflicts and ensures all devices are on the same network.
Power On the MU1
- Find the power button, which is located next to the power plug at the back of the unit. It is very small, so look closely.
- Press the button to turn the unit on. Once powered on, the MU1 can remain on indefinitely, as it is designed to operate efficiently and stay ready for use.
Connect the MU1 to Your DAC
- Use a high-quality AES/EBU or optical digital cable to connect the MU1 to your DAC for audio playback.
Setting Up the MU1 as Your Roon Core
Why Use the MU1 as Your Roon Core?
- The MU1’s processing capabilities significantly enhance sound quality compared to a standard Roon Core. It uses advanced FPGA-based digital signal processing and upsampling to improve playback performance.
- It is highly recommended that the MU1 serves as the primary Roon Core on your network.
Ensure the MU1 is the Only Roon Core
- Before connecting the MU1 as your Roon Core, make sure there are no other Roon Cores running on your network. Running multiple Roon Cores can cause conflicts.
- To remove an old Roon Core, open the Roon app, go to Settings > General, and select Disconnect from the old Core.
Configure the MU1 as the Roon Core
- Install the Roon app on your computer, tablet, or phone.
- When prompted to select a Roon Core, choose the MU1 from the list of available devices.
- Once connected, the MU1 will manage your music library, organize playlists, and stream to other devices on the network.
How to Copy Music Files to the MU1 Storage
If you want to store music files directly on the MU1, here’s how to access the internal storage from your computer.
On Windows
Ensure Network Discovery is Enabled:
- Go to Control Panel > Network and Sharing Center > Change advanced sharing settings.
- Enable Network Discovery and File and Printer Sharing, then save the changes.
Manually Access the MU1’s Storage:
- Open File Explorer and type the MU1’s IP address into the address bar using this format:
\MU1_IP_Address\Storage - For example, if the MU1’s IP address is 192.168.1.50, type:
\192.168.1.50\Storage - Enter the username admin (with no password or the one you set).
Map the MU1 as a Network Drive:
- To make access easier in the future, right-click This PC in File Explorer, select Map network drive, and input the same IP address.
On macOS
Manually Connect to the MU1:
- Open Finder and select Go > Connect to Server (or press
Command + K). - Enter the MU1’s IP address in the format:
smb://MU1_IP_Address/Storage - For example, smb://192.168.1.50/Storage, and click Connect.
Add the MU1 as a Favorite:
- After connecting, drag the MU1 from the Shared section of Finder to Favorites for easy future access.
How to Copy Music Files to the MU1 Using Explorer or Finder
Once you have accessed the MU1’s storage via File Explorer (on Windows) or Finder (on macOS), copying your music files to the device is straightforward.
-
Navigate to the /music folder on the MU1:
- Within the Storage directory on the MU1, you will find a folder named /music. This is the default folder where you should place your music files.
-
Use a simple copy and paste:
- Select the music files or folders on your computer that you want to copy to the MU1.
- Drag and drop them into the /music folder, or use Ctrl + C (on Windows) or Command + C (on macOS) to copy the files, then paste them into the /music folder by pressing Ctrl + V or Command + V.
-
Roon Automatically Indexes Your Music:
- Once the files are copied into the /music folder, Roon will automatically begin indexing the new content.
- Subfolder structure doesn’t matter: You can organize your files into any subfolders within /music, and Roon will still scan and index all music files, no matter how deep in the folder hierarchy they are.
This simple process allows you to easily add new music to your MU1 without any special tools or software. Just make sure to always copy your files into the /music folder to ensure Roon detects and indexes them properly

Share:
FAQ: Grimm Audio MU1 Troubleshooting
Grimm Audio MU1 and MU2 Quick Start