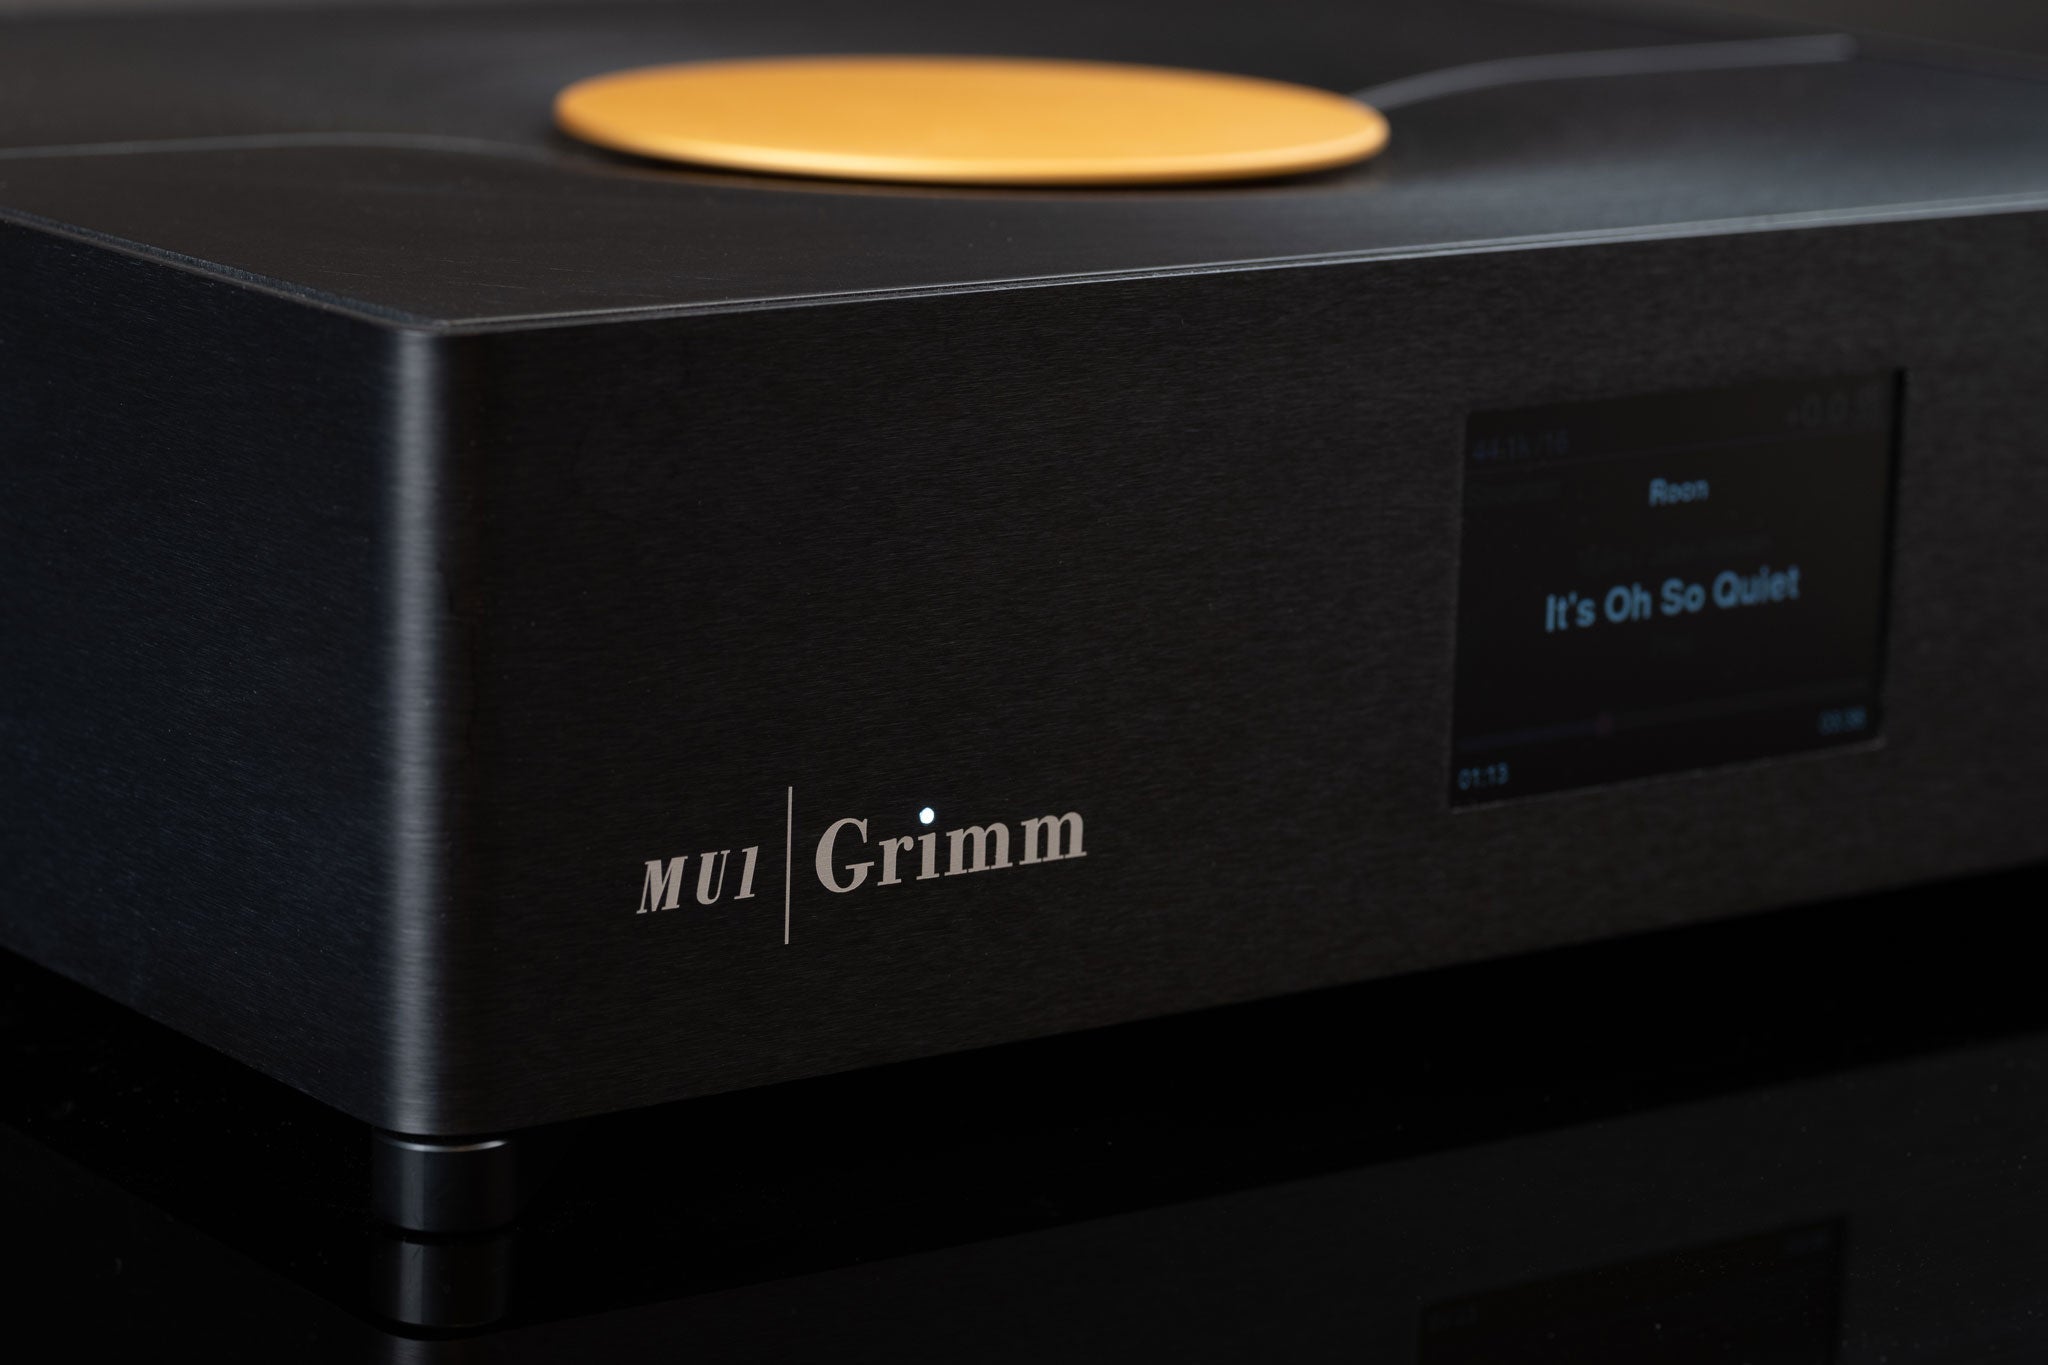
Grimm MU1 & MU2 Music Streamers Quick Start Guide
1. Installing Roon Controller Software
Step 1: Downloading and Installing Roon
-
Roon Subscription Required:
- Roon is a paid service, requiring an active subscription (monthly, annual, or lifetime). Visit Roon Labs to choose a plan and create an account if you haven't already.
-
Download Roon Controller:
- Visit the Roon Labs website.
- Select the appropriate version for your iPad or computer. Get the software here
- Download and install the software by following the on-screen instructions.
Step 2: Setting Up Roon Core
-
Sign Into Roon:
- Sign into your Roon Labs account within the Roon Controller. Ensure you have an active Roon subscription. If needed, create an account and select a plan.
-
Roon Core Setup:
- If this is your first time using Roon, the software will automatically go into setup mode and ask you to select a Roon Core.
- Select the Grimm MU1/MU2 as the Roon Core. If the MU1 or MU2 does not appear, ensure both your device and control device are connected to the same network. Refer to the Grimm Audio FAQ if needed.
Step 3: Setting Up MU1 or MU2 as Roon Endpoint and Enabling the Extension
-
Check the Selected Endpoint:
- Roon will typically select your Grimm MU1 or MU2 as the default audio zone, but this is not always the case. Check which endpoint is selected by looking at the bottom of your Roon screen (labeled Audio Zone).
- If the Grimm MU1 or MU2 is not the currently selected, select the MU1/MU2 from the list.
-
If the Grimm product is not listed as an Endpoint in the Audio Zone list
- If the Grimm MU1 or MU2 does not appear in the list of available endpoints, you will need to enable it:
- Go to Settings in the Roon Controller.
- Select Audio.
- Find the Grimm MU1 or MU2 under "Roon Ready" devices and click Enable.
- If the Grimm MU1 or MU2 does not appear in the list of available endpoints, you will need to enable it:
-
Enable the Grimm Extension:
- After selecting the Grimm MU1 or MU2 as the audio zone:
- Go to Settings by clicking the gear icon.
- Select Extensions.
- You’ll see your Grimm MU1 or MU2 listed as having an available extension. Click Enable.
- Once enabled, your setup is complete, and you can start streaming music.
- After selecting the Grimm MU1 or MU2 as the audio zone:
Step 4: Logging Into Music Services (TIDAL or Qobuz)
-
Important: A Roon subscription is separate from music streaming services like TIDAL or Qobuz. You must have an active subscription with these services, and they require their own log-ins and passwords. You will need to log into each service within Roon to access your music library.
-
To link your streaming services to Roon:
- Open the Roon Controller.
- Go to Settings from the menu.
- Select Services.
- Choose your streaming service (TIDAL or Qobuz) and click Login.
- Enter your TIDAL or Qobuz account credentials (these are separate from your Roon login).
- Once logged in, your streaming service will be integrated with Roon, giving you access to your playlists, favorites, and library within the Roon interface.
Step 5: Adding Local Music
-
Add Local Music Files:
- For local music files stored on a NAS or external drive (MU1), go to Settings > Storage in Roon and add the folder paths where your music is stored. For more details on how to do this, please review our Grimm FAQ document.

Share:
FAQ: Unboxing and Setting Up Your new Grimm MU1